Why Your Silver Coins Are Spotting After a Dip
Silver coin cleaning has gotten complicated with all the conflicting advice flying around. Dip it. Don’t dip it. Use distilled water. Use acetone. Rinse for 30 seconds. Rinse for two minutes. And somewhere in the middle of all that noise, you ended up with a coin covered in white and gray spots that weren’t there six hours ago.
As someone who has ruined more than a few Morgans chasing that brilliant, untoned look, I learned everything there is to know about what causes post-dip spotting — and more importantly, how to stop it from happening again. Today, I will share it all with you.
The short version: those spots aren’t random. They have a specific cause, a specific name, and a specific fix. But it’s much more than a simple rinsing problem.
What Those Spots Actually Are
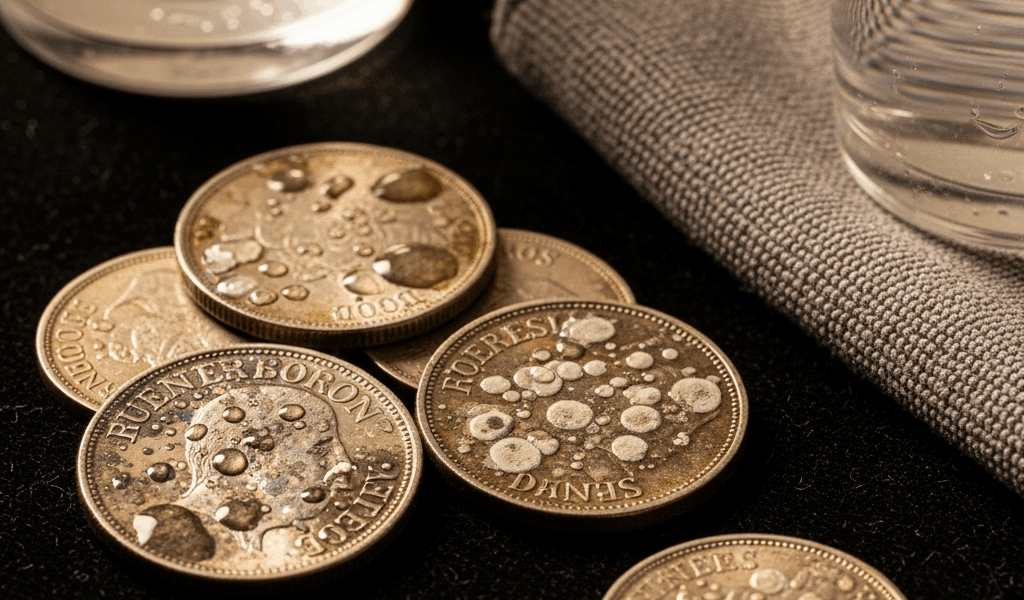
But what is post-dip spotting, exactly? In essence, it’s mineral deposits and chemical residue crystallizing on the coin’s surface during the drying process. But it’s much more than that.
Silver is porous at the microscopic level. That’s the part most people don’t realize. When you pull a coin out of a dipping solution — Tarnex, a homemade acid rinse, even acetone — there’s still liquid clinging to the metal’s tiny valleys and pits. That’s not a flaw. That’s just how silver behaves.
Now, if that lingering liquid happens to be tap water, you’ve got dissolved calcium, magnesium, and chlorine compounds sitting on your coin. They don’t evaporate. They crystallize. The coin dries unevenly, the minerals settle wherever the water pooled last, and you wake up the next morning to a spotting pattern that looks almost random — because it is. It’s literally a map of how your water dried.
The second culprit is active cleaning solution that never got fully rinsed off. Exposed to air, it reacts. Sometimes fast, sometimes over several hours. That’s where the gray, cloudy spots come from — the ones that seem to appear from nowhere around midnight while the coin sits on your workbench.
Silver is forgiving in most ways. Drying is where it punishes carelessness.
The Dipping Mistakes That Cause Spots
Three errors dominate this problem. They’re easy to make, especially when you’re moving fast or working through a stack of circulated coins on a Saturday afternoon — which is exactly how I ended up ruining a 1921 Morgan I’d been holding onto for two years.
Rinsing for 20 seconds instead of 60
Frustrated by tarnish that wouldn’t quit, I started rushing the rinse. Twenty seconds, maybe thirty. The water looked clear. Good enough, right? Wrong. I grabbed a coffee, came back, and the coin had a hazy gray film baked onto it that wouldn’t budge without a second dip — which risked more damage. That was the last time I eyeballed the rinse.
Sixty seconds minimum. Under distilled water. Not tap — distilled. That’s the rule, and it’s not negotiable. The difference between tap and distilled isn’t philosophical. It’s $1.49 for a gallon jug at any drugstore versus mineral deposits permanently settled into your coin’s surface.
Air-drying instead of patting dry
This one feels safe. The coin is wet, you’re being careful, you set it down gently and let it dry on its own. That passive approach is exactly what creates the spotting pattern you’re trying to avoid. Water doesn’t evaporate evenly across a flat surface. It pools. It retreats from the high points first. Every second that coin sits wet, minerals and residue are crystallizing in the low spots.
Don’t make my mistake. Pat dry immediately. Every time.
Using tap water for the final rinse
Hard water makes this dramatically worse — and if you’re in most parts of the Midwest or Southwest, you’re almost certainly on hard water. I’m apparently on extremely hard water and distilled works for me while tap never does. Found that out the hard way with a small-date 1916 dime I was cleaning up for a friend. Not a conversation I want to repeat.
Probably should have opened with this section, honestly. It’s that foundational to everything else.
How to Remove Spots That Already Appeared
If the spots are already there, your recovery options depend on severity. Start conservative — always.
Rinse under distilled water for 60 seconds at a moderate flow. Not a hard stream. If the spots hold, try a second dip using fresh solution, minimum contact time, clean container. Old solution carries residue. It creates new problems.
After that second dip — immediately, while still wet — pat the coin dry with a lint-free cloth. Microfiber works. High-quality paper towels work. Soft cotton cloth works. One gentle motion, rim inward, light pressure. No circles. No scrubbing. One pass.
Here’s the thing though: if your coin grades above MS-63, if it’s a proof, if it carries original toning you’ve been trying to preserve — don’t re-dip aggressively. Contact a professional conservator. One bad second dip on a high-grade coin costs far more than the consultation would have. That’s not a theoretical warning. That’s a lesson collectors learn once, expensively.
Drying Method Makes or Breaks the Result
You can run a perfect dip. Perfect rinse. Sixty seconds of clean distilled water, fresh solution, ideal conditions. And still end up with spots. That’s how much the drying step matters — and most guides skip it entirely.
Pat-drying is non-negotiable. The moment the coin comes out of the rinse water, it goes into a lint-free cloth. A few seconds. One motion. Done.
Never set a wet coin flat on a surface. The back evaporates at a different rate than the front. You get uneven mineral deposits on both sides, and you didn’t even see it happening.
Heat sources are a trap. Hair dryers, heat guns, even an incandescent desk lamp running close — they all accelerate uneven evaporation and can stress the metal if there’s any temperature variation across the surface. The pat-dry takes 30 seconds. Use those 30 seconds.
After patting, if you want the coin to fully air-dry, stand it upright on a soft surface in a cool dry spot so air reaches both sides evenly. Flat is bad. Upright is fine — after you’ve already removed the surface moisture.
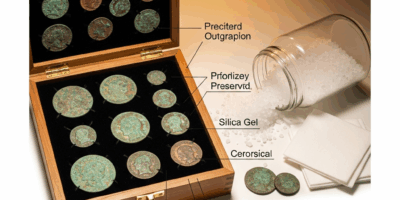
How to Prevent Spots on Future Dips
Prevention is simpler than recovery. Genuinely. The whole checklist takes maybe 90 extra seconds per coin.
- Use distilled water only for the final rinse — no exceptions, no substitutions
- Rinse for at least 60 seconds after the coin leaves the dipping solution
- Pat dry immediately with a lint-free cloth using a single gentle motion
- Wear cotton gloves when handling coins post-dip — skin oils deposit fast on clean silver
- Never leave a coin in solution longer than the product label specifies
Worth saying out loud: dipping is a one-way street. Tarnish removed doesn’t come back the same way, and the metal surface changes permanently with every dip — even a good one. A collector I used to buy from at shows put it plainly: every dip is a small irreversible act, even when you do everything right. That’s stuck with me for about twelve years now. Use it sparingly. Rare dates, high grades, original-toned coins — those are often safer left alone entirely.
The spots on your coins aren’t a broken coin. They’re a broken process. Fix the process, and the spots stop appearing.


Stay in the loop
Get the latest collectors coin corner updates delivered to your inbox.